How to add image preview to Gravity Forms
WordPressGravity Forms
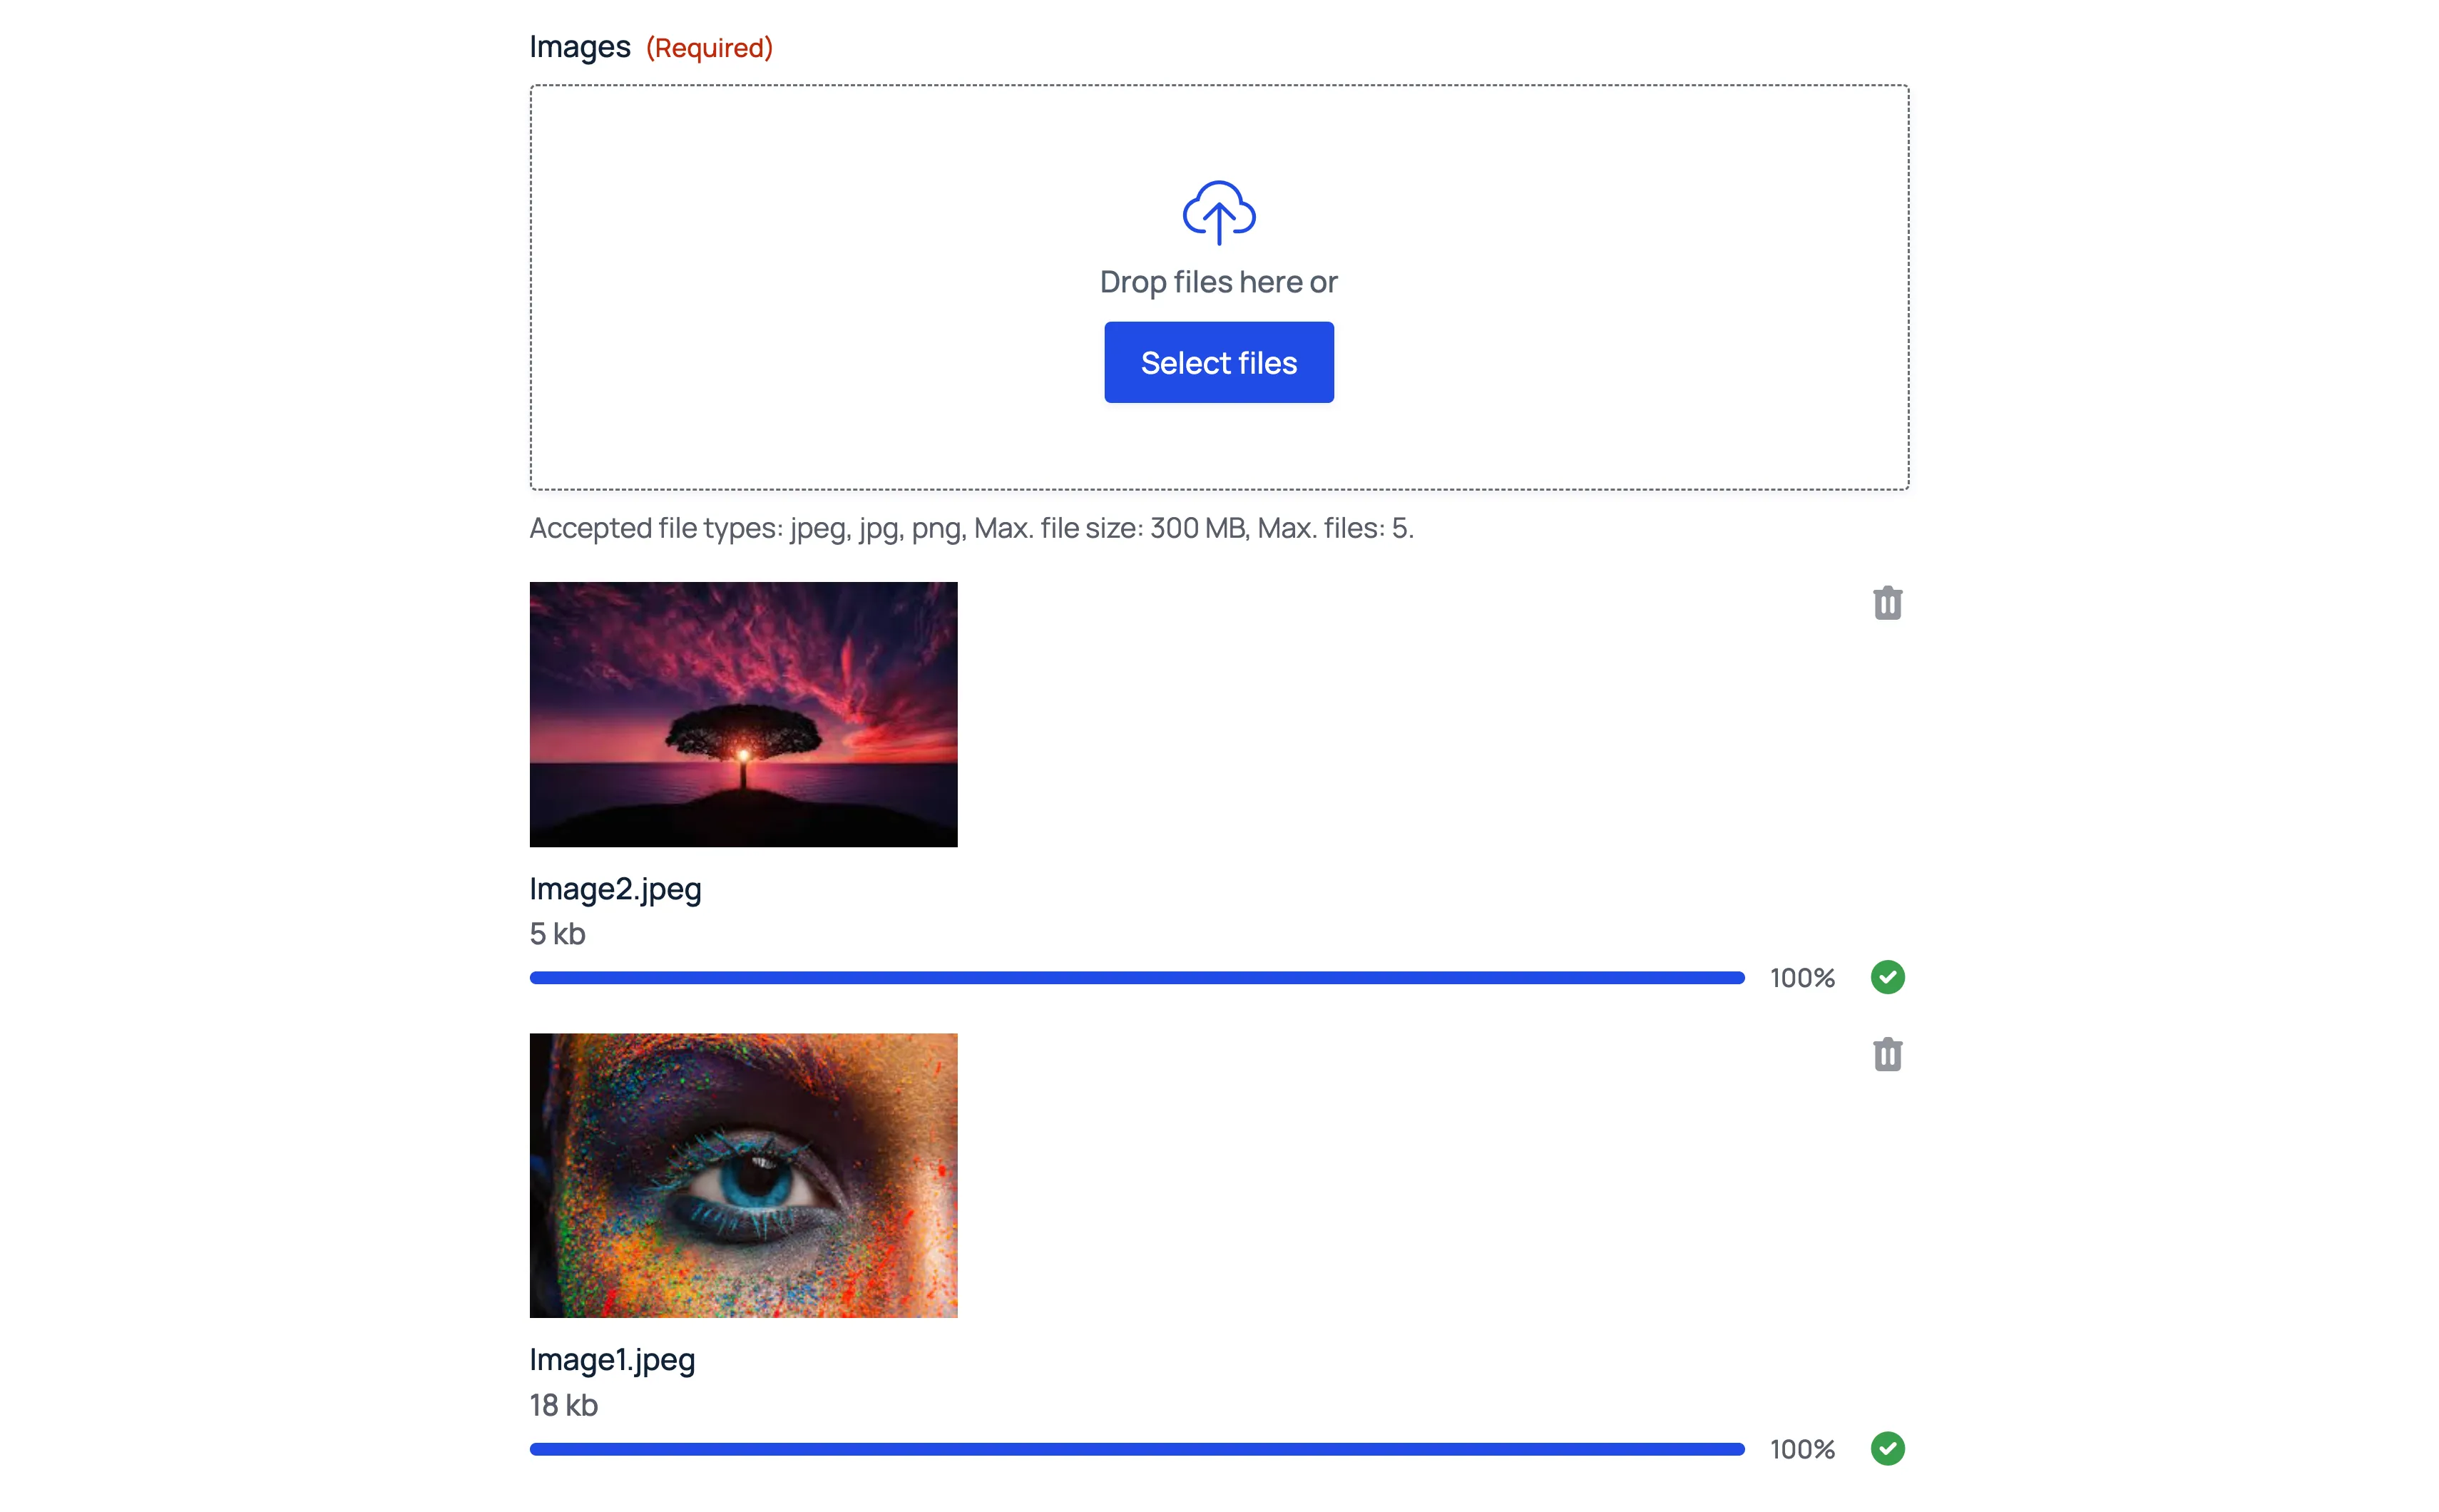
Image previews are crucial for a good user experience on forms that require image uploads. They allow users to immediately confirm they’ve selected the correct files, reducing errors and improving form completion rates.
This guide will walk you through the process of implementing image previews to Gravity Forms. We will leverage the gform_file_upload_markup filter, which allows us to modify the HTML output of the file upload field. To do this, we will need two versions of the filter:
- JavaScript Version: Provides an immediate preview client-side preview that appears as soon as the user selects an image.
- PHP Version: Ensures the preview persists after page reloads caused by validation errors or while navigating a multi-step form.
Prerequisites
- A WordPress site with Gravity Forms installed and activated.
- A form created in Gravity Forms with a File Upload field configured to accept image file types (e.g., jpg, jpeg, png).
Implementation
You can implement these code snippets either by adding them directly to your theme’s files or through a plugin.
JavaScript Version
<script>  document.addEventListener("DOMContentLoaded", function () {    gform.addFilter(      "gform_file_upload_markup",      function (html, file, up, strings, imagesUrl, response) {        const formId = up.settings.multipart_params.form_id        const fieldId = up.settings.multipart_params.field_id
        //  Update with your Form ID and Field ID        if (formId === 1 && fieldId === 4) {          const siteUrl = window.location.origin
          // Update with your folder name.          // This is a unique folder name in wp-content/uploads/gravity_forms/          // after a file is uploaded.          const formFolder = "1-3fe5c95a49690821b2cffc31ead07a4b"          const tempName = rgars(response, "data/temp_filename")
          html = `            <img              src="${siteUrl}/wp-content/uploads/gravity_forms/${formFolder}/tmp/${tempName}"              alt="${file.name}"              style="max-width: 100px; display: block; margin-bottom: 5px;"            />${html}`        }
        return html      },    )  })</script>
PHP Version
add_filter( 'gform_file_upload_markup', 'custom_image_upload_markup', 10, 4 );
function custom_image_upload_markup( $file_upload_markup, $file_info, $form_id, $field_id ) {  //  Update with your Form ID and Field ID  if ( $form_id === 1 && $field_id === 4 ) {    $upload_url = GFFormsModel::get_upload_url($form_id);    $filename = $file_info['uploaded_filename'];    $temp_filename = $file_info['temp_filename'];    $temp_file_url = $upload_url . '/tmp/' . $temp_filename;
    return '      <img        src="' . esc_url($temp_file_url) . '"        alt="' . esc_attr($filename) . '"        style="max-width: 100px; display: block; margin-bottom: 5px;"      />' . $file_upload_markup;  }
  return $file_upload_markup;}
Conclusion
By adding these two small code snippets, you significantly enhance the user experience of your Gravity Forms image upload fields.
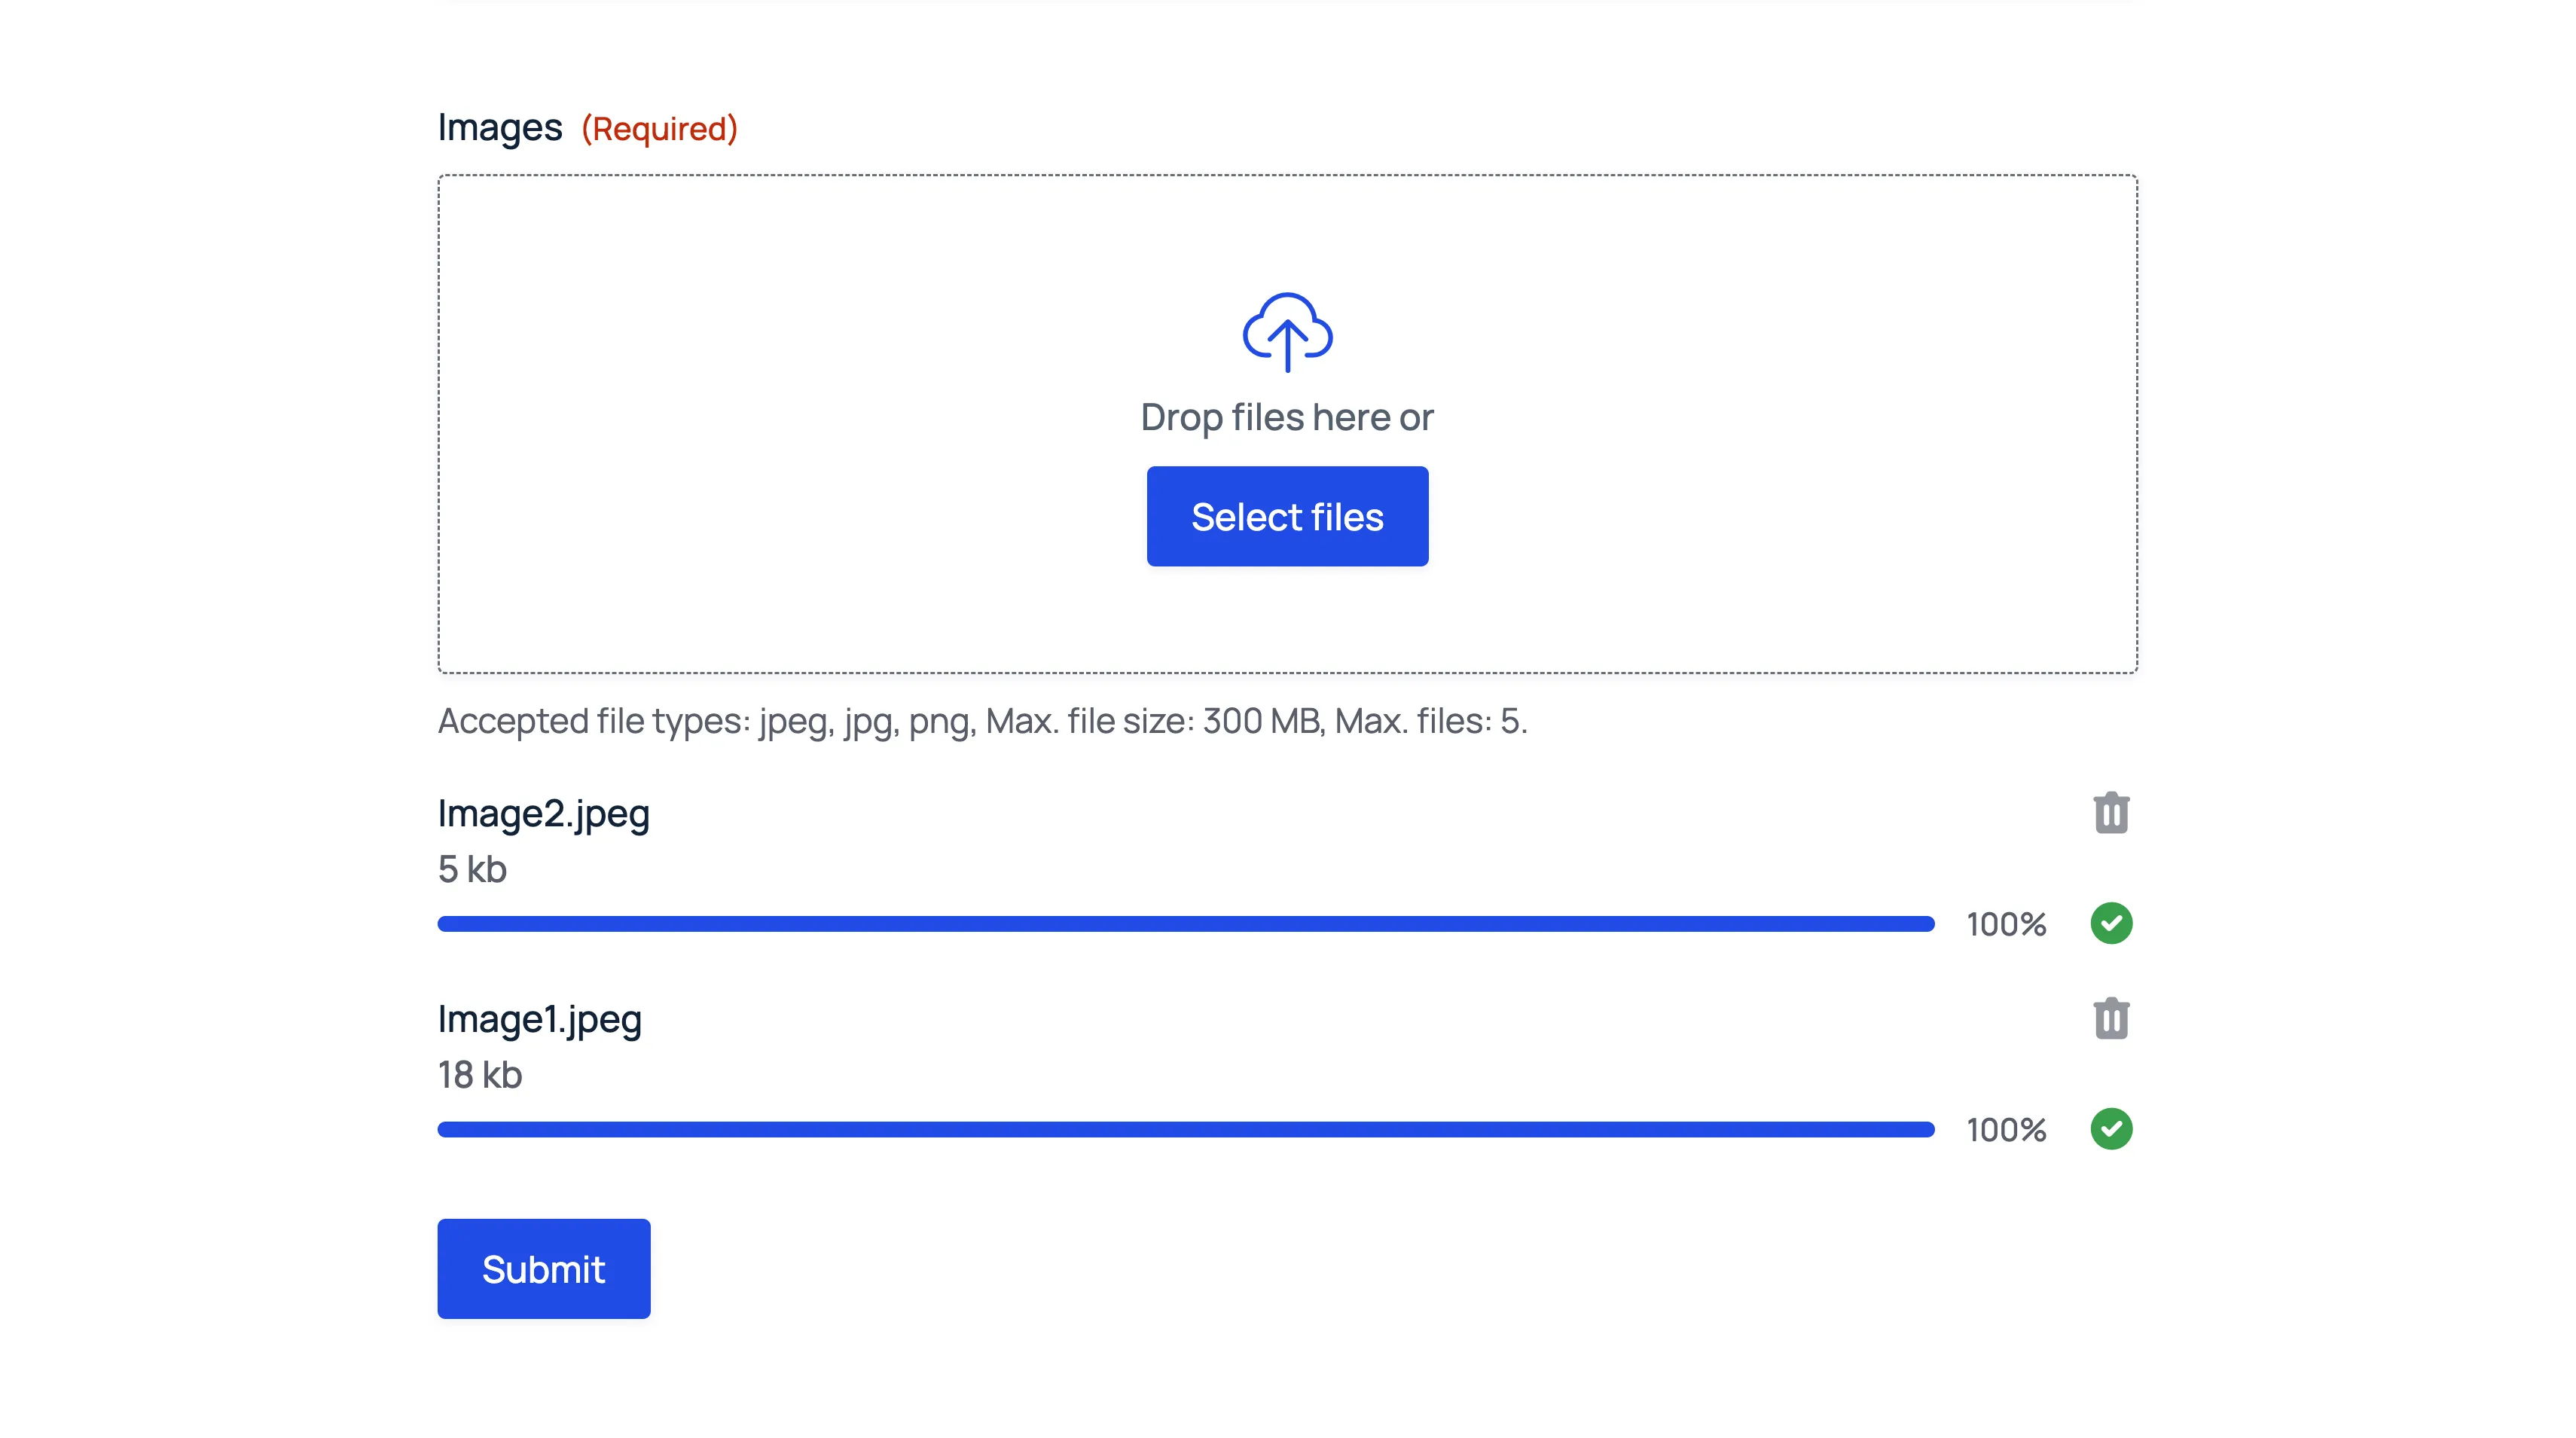
Before

After
