Integrating Contact Form 7 with Next.js
This guide demonstrates the implementation of a headless contact form using Next.js and WordPress Contact Form 7. You’ll learn how to create a form, handle submissions, and implement validation while maintaining a seamless user experience.
Alternative premium implementation: Integrating Gravity Forms with Next.js
Requirements
- WordPress installation with Contact Form 7 plugin
- Next.js 15 application with App Router
Implementation
WordPress Configuration
Contact Form 7 Setup
- Create a new form in Contact Form 7 with the following fields. These field names are crucial as they’ll be used in our Next.js implementation:
<label> First name [text* first-name] </label>
<label> Last name [text* last-name] </label>
<label> Email [email* email] </label>
<label> Message [textarea* message] </label>
[submit "Submit"]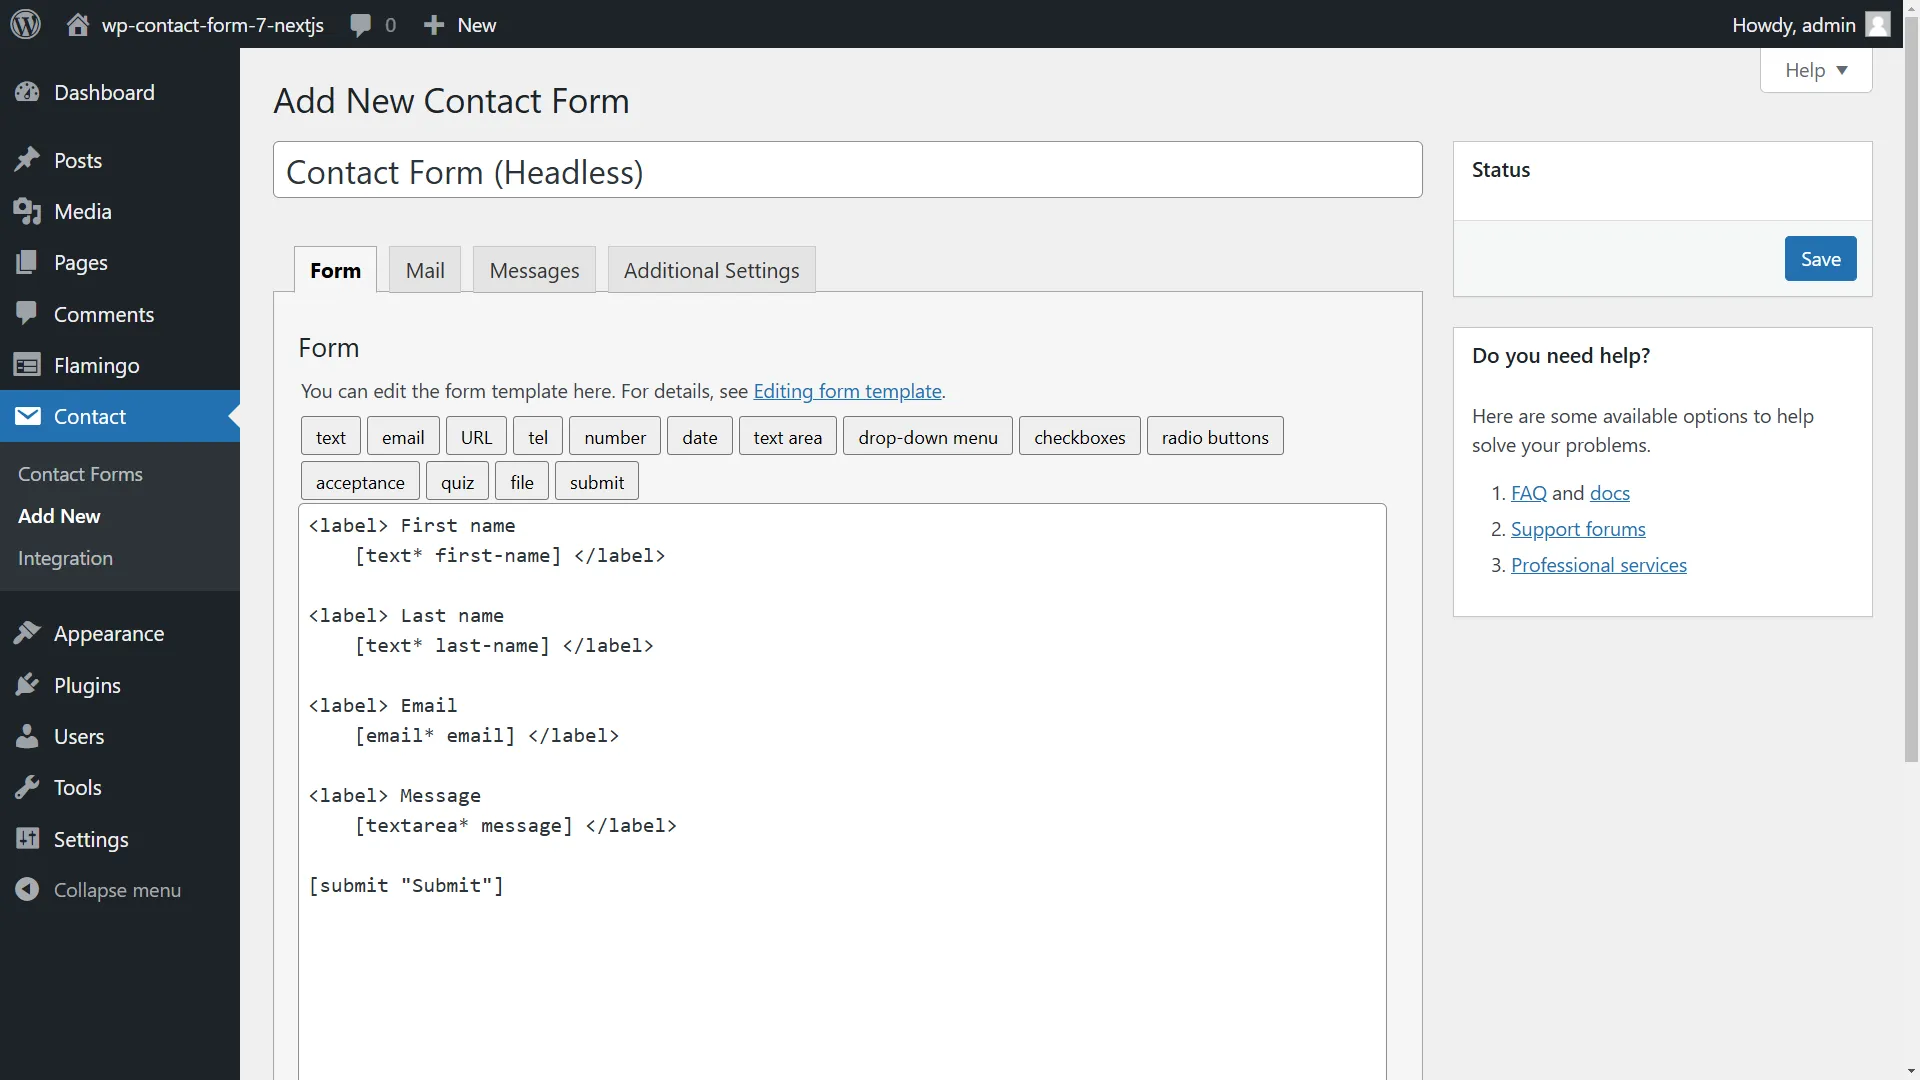
- Configure the Mail tab settings to match your field names. This ensures emails are sent with the correct information:

- For storing form submissions, install Flamingo. This plugin provides a database to store form submissions in WordPress.
Note: Flamingo uses default input fields:
your-subject,your-name, andyour-email. To customize these, add the following to the Additional Settings tab. This ensures submissions are properly labeled in the Flamingo database:
flamingo_name: "[first-name] [last-name]"flamingo_email: "[email]"flamingo_subject: "Form submission"Next.js Implementation
1. UI Components Setup (Optional)
We’ll use shadcn/ui for a polished, accessible form interface. Install it with:
npx shadcn@latest initAdd the required components that we’ll use in our form:
npx shadcn@latest add button input textarea label2. Form Component
Create the base form structure. Note that the field names must match exactly with those in Contact Form 7:
import { Button } from "./ui/button"import { Input } from "./ui/input"import { Label } from "./ui/label"import { Textarea } from "./ui/textarea"
export function ContactForm() {  return (    <form className="w-full max-w-3xl rounded-lg bg-white px-4 py-12">      <div className="mx-auto max-w-2xl space-y-6">        <h1 className="text-center text-4xl">Contact</h1>        <div className="flex gap-4">          <div className="flex-1 space-y-2">            <Label htmlFor="first-name">First name</Label>            <Input id="first-name" name="first-name" />          </div>          <div className="flex-1 space-y-2">            <Label htmlFor="last-name">Last name</Label>            <Input id="last-name" name="last-name" />          </div>        </div>        <div className="space-y-2">          <Label htmlFor="email">Email</Label>          <Input id="email" name="email" />        </div>        <div className="space-y-2">          <Label htmlFor="message">Message</Label>          <Textarea id="message" name="message" />        </div>        <Button type="submit">Send</Button>      </div>    </form>  )}
Add to homepage:
import { ContactForm } from "@/components/contact-form"
export default function HomePage() {  return (    <main className="flex min-h-screen items-center justify-center bg-slate-200">      <ContactForm />    </main>  )}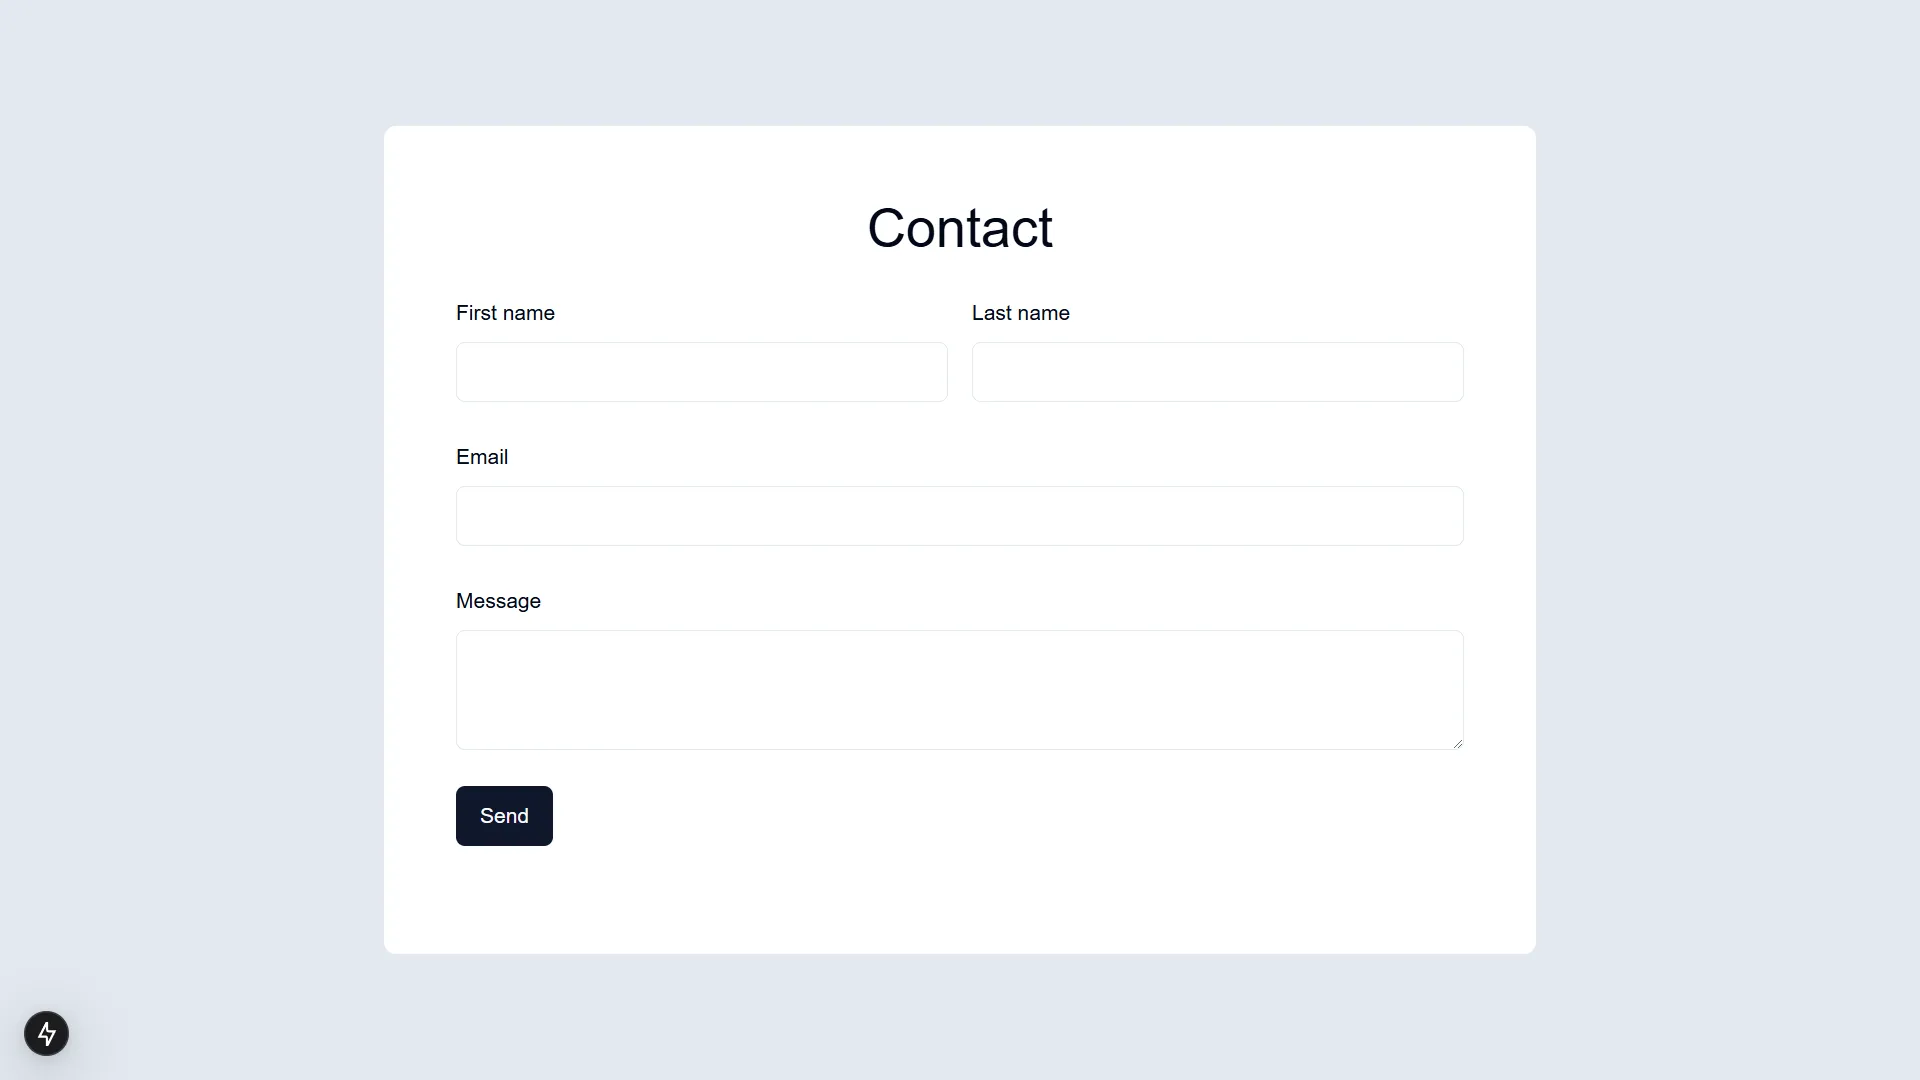
3. Form Submission Handler
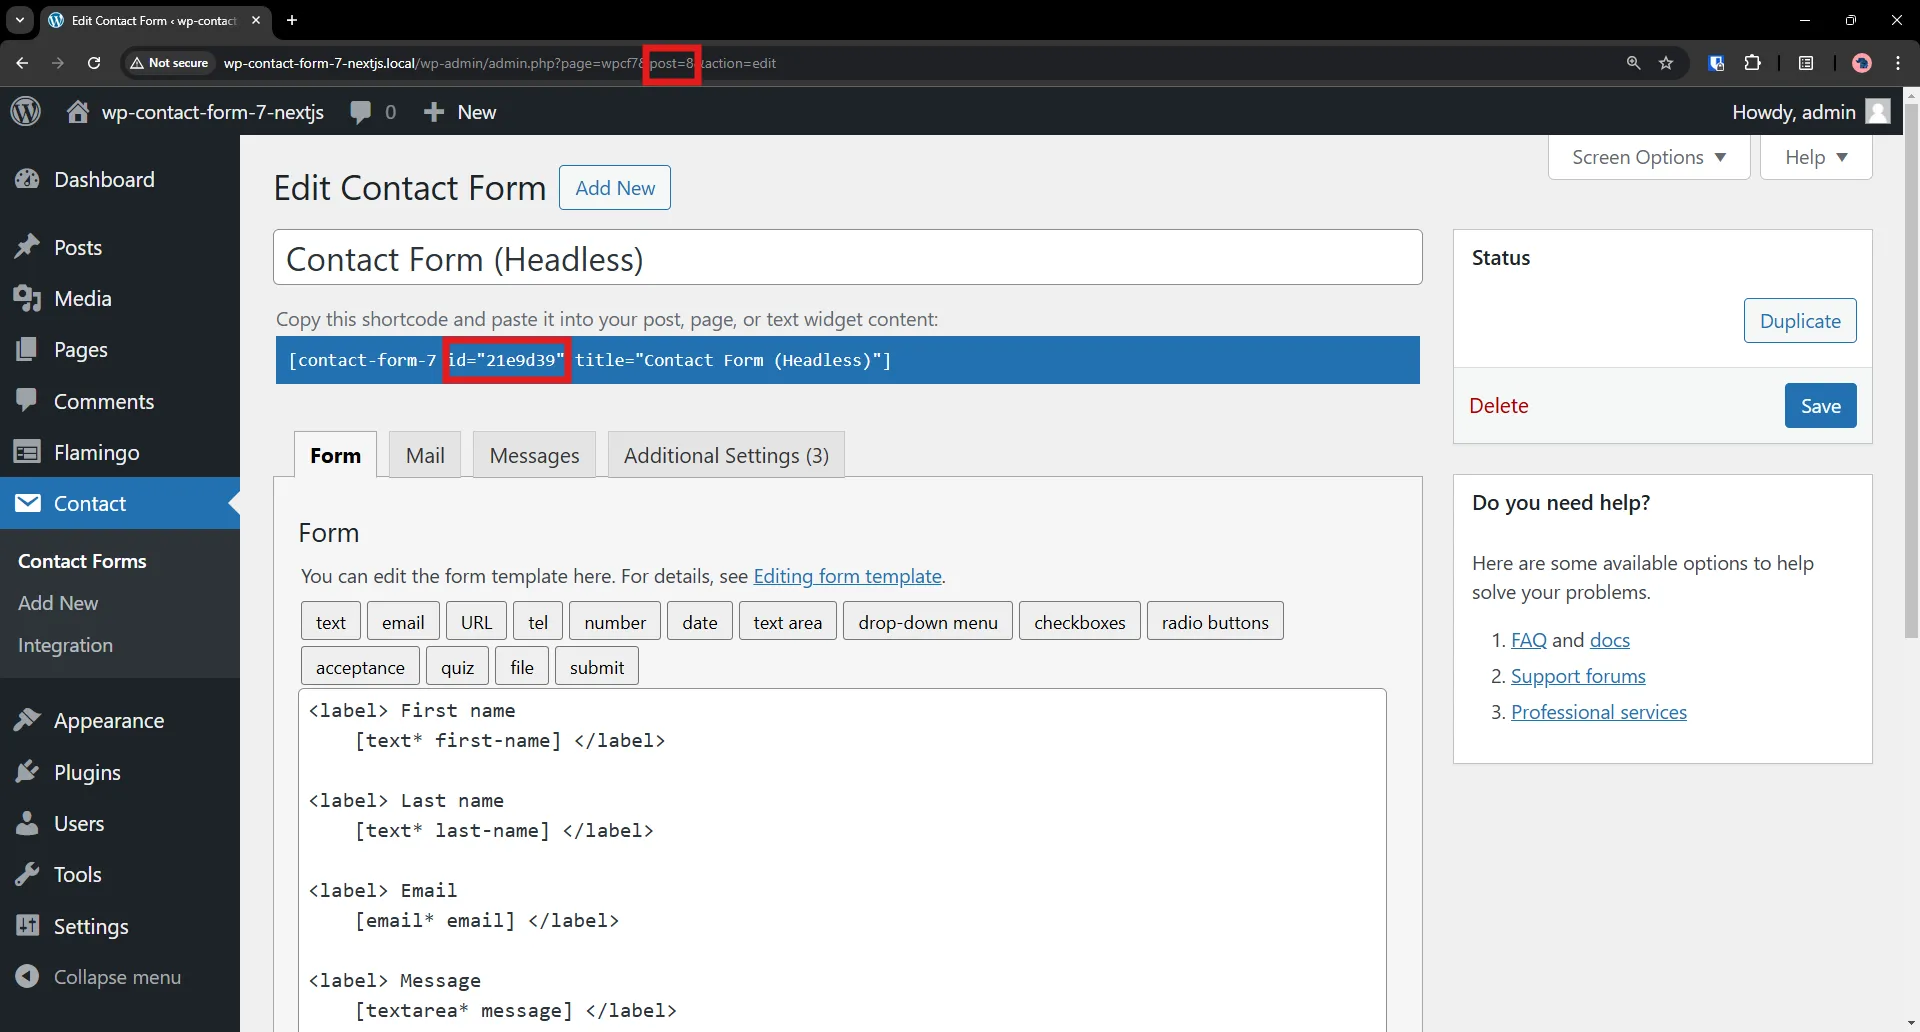
Before implementing form submission, you’ll need two pieces of information from your Contact Form 7 setup:
- Contact Form ID: Found in the URL as post=<FORM_ID>
- Unit Tag: 7-character alphanumeric string in the form’s shortcode
These values are required for the API endpoint and form submission:
Create a server action to handle form submissions:
"use server"
export async function sendFormData(formData: FormData) {  formData.append("_wpcf7_unit_tag", "21e9d39") // Replace with your Unit Tag
  try {    const response = await fetch(      // Replace with your site URL and Contact Form ID      "http://yt-cf7-nextjs.local/wp-json/contact-form-7/v1/contact-forms/8/feedback",      {        method: "POST",        body: formData,      },    )
    const data = await response.json()
    return data  } catch (error) {    console.error("Error submitting form:", error)    return {      message: "An unexpected error has occurred. Please try again later.",    }  }}
4. Form Validation
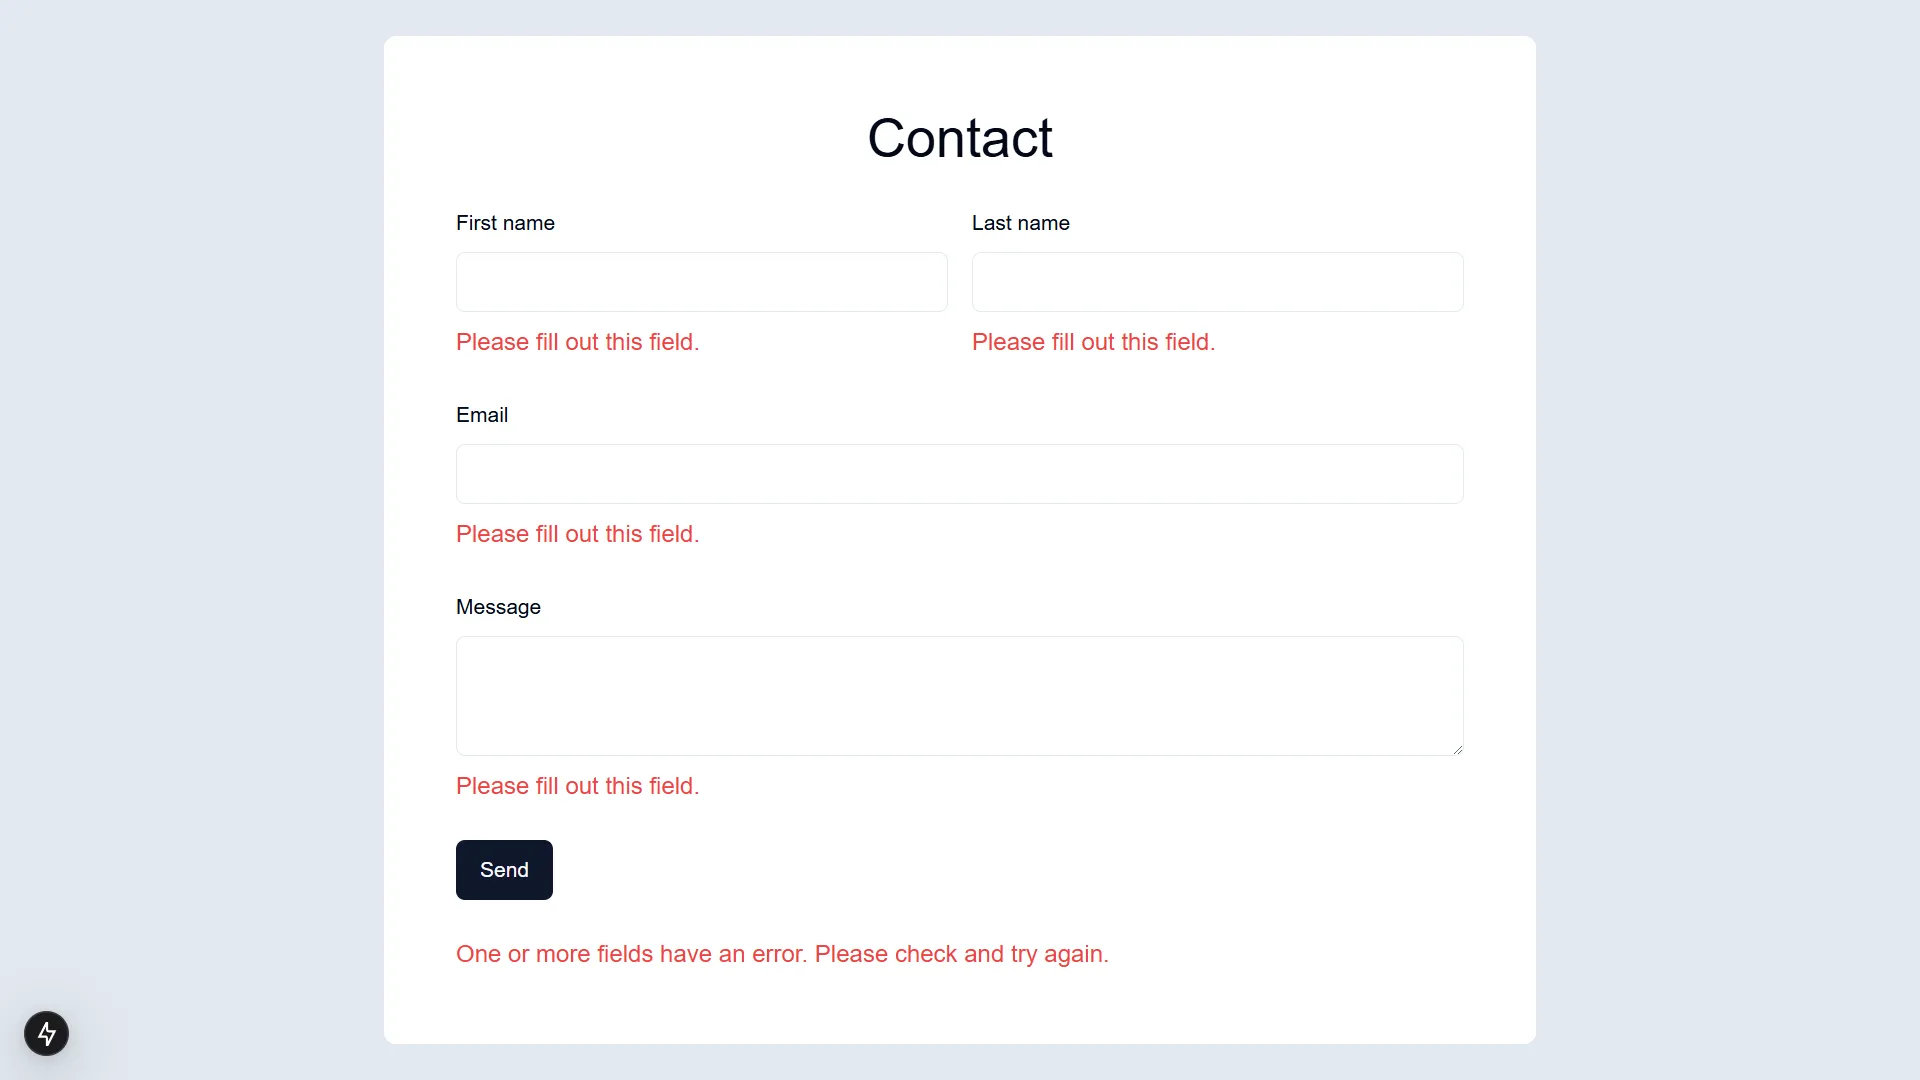
Contact Form 7 provides validation feedback through its API response. Here’s an example of the response structure when validation fails:
{ "contact_form_id": 8, "status": "validation_failed", "message": "One or more fields have an error. Please check and try again.", "invalid_fields": [ { "field": "last-name", "message": "Please fill out this field.", "idref": null, "error_id": "21e9d39-ve-last-name" } ]}To make the validation messages more accessible in our form, we’ll transform the response:
"use server"
export async function sendFormData(formData: FormData) {  formData.append("_wpcf7_unit_tag", "21e9d39") // Replace with your Unit Tag
  try {    const response = await fetch(      // Replace with your site URL and Contact Form ID      "http://yt-cf7-nextjs.local/wp-json/contact-form-7/v1/contact-forms/8/feedback",      {        method: "POST",        body: formData,      },    )
    const data = await response.json()
    if (data.invalid_fields.length) {      data.invalid_fields_obj = {}      data.invalid_fields.forEach(        (field: { field: string; message: string }) => {          data.invalid_fields_obj[field.field] = field.message        },      )    }
    return data  } catch (error) {    console.error("Error submitting form:", error)    return {      message: "An unexpected error has occurred. Please try again later.",    }  }}
The form component is marked as a client component to handle client-side state and interactions. It uses the useActionState hook to manage form submission state and displays validation messages:
"use client"
import { useActionState } from "react"import { Button } from "./ui/button"import { Input } from "./ui/input"import { Label } from "./ui/label"import { Textarea } from "./ui/textarea"import { sendFormData } from "@/server/actions"
export function ContactForm() {  const [state, action, isPending] = useActionState(sendFormData, {})
  return (    <form      action={action}      className="w-full max-w-3xl rounded-lg bg-white px-4 py-12"    >      <div className="mx-auto max-w-2xl space-y-6">        <h1 className="text-center text-4xl">Contact</h1>        <div className="flex gap-4">          <div className="flex-1 space-y-2">            <Label htmlFor="first-name">First name</Label>            <Input id="first-name" name="first-name" />            {state.invalid_fields_obj?.["first-name"] && (              <p className="text-destructive">                {state.invalid_fields_obj["first-name"]}              </p>            )}          </div>          <div className="flex-1 space-y-2">            <Label htmlFor="last-name">Last name</Label>            <Input id="last-name" name="last-name" />            {state.invalid_fields_obj?.["last-name"] && (              <p className="text-destructive">                {state.invalid_fields_obj["last-name"]}              </p>            )}          </div>        </div>        <div className="space-y-2">          <Label htmlFor="email">Email</Label>          <Input id="email" name="email" />          {state.invalid_fields_obj?.["email"] && (            <p className="text-destructive">              {state.invalid_fields_obj["email"]}            </p>          )}        </div>        <div className="space-y-2">          <Label htmlFor="message">Message</Label>          <Textarea id="message" name="message" />          {state.invalid_fields_obj?.["message"] && (            <p className="text-destructive">              {state.invalid_fields_obj["message"]}            </p>          )}        </div>        <Button type="submit">Send</Button>        <Button type="submit" disabled={isPending}>          {isPending ? "Sending..." : "Send"}        </Button>        <p className={state.status === "mail_sent" ? "" : "text-destructive"}>          {state.message}        </p>      </div>    </form>  )}
The function passed to useActionState receives an extra argument, the previous or initial state, as its first argument:
"use server"
export async function sendFormData(prevState: unknown, formData: FormData) {  formData.append("_wpcf7_unit_tag", "21e9d39") // Replace with your Unit Tag
  try {    const response = await fetch(      // Replace with your site URL and Contact Form ID      "http://yt-cf7-nextjs.local/wp-json/contact-form-7/v1/contact-forms/8/feedback",      {        method: "POST",        body: formData,      },    )
    const data = await response.json()
    if (data.invalid_fields.length) {      data.invalid_fields_obj = {}      data.invalid_fields.forEach(        (field: { field: string; message: string }) => {          data.invalid_fields_obj[field.field] = field.message        },      )    }
    return data  } catch (error) {    console.error("Error submitting form:", error)    return {      message: "An unexpected error has occurred. Please try again later.",    }  }}
The validation messages are displayed with a destructive (error) styling and appear only when validation fails for that specific field. The form uses the isPending state from useActionState to disable the submit button and show a loading state during submission. Success and error messages are displayed at the bottom of the form based on the submission state.
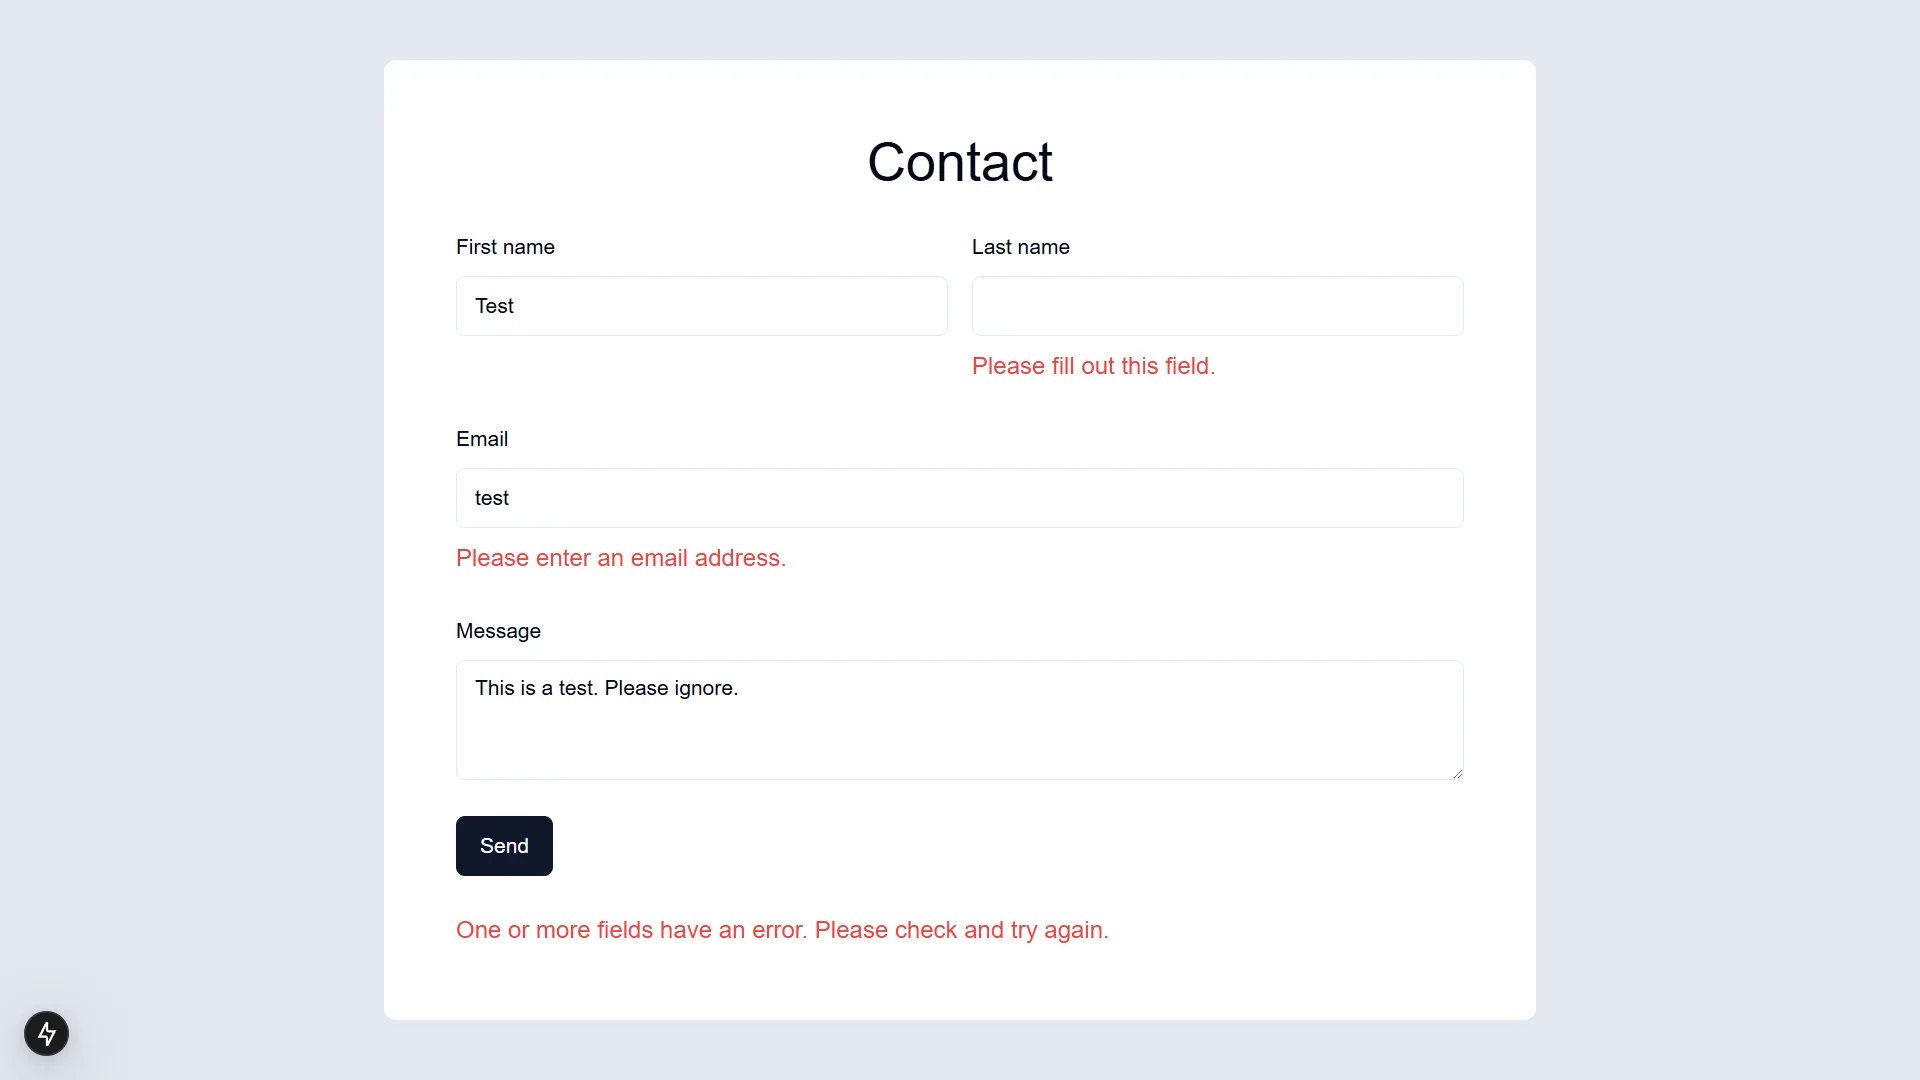
5. Preserving Form Input Values After Validation Errors
When form validation fails, we want to preserve the user’s input to avoid data loss. The server action returns the form data in the response, which we use to populate the form fields:
"use server"
export async function sendFormData(prevState: unknown, formData: FormData) {  formData.append("_wpcf7_unit_tag", "21e9d39") // Replace with your Unit Tag
  try {    const response = await fetch(      // Replace with your site URL and Contact Form ID      "http://yt-cf7-nextjs.local/wp-json/contact-form-7/v1/contact-forms/8/feedback",      {        method: "POST",        body: formData,      },    )
    const data = await response.json()
    if (data.invalid_fields.length) {      data.payload = formData      data.invalid_fields_obj = {}      data.invalid_fields.forEach(        (field: { field: string; message: string }) => {          data.invalid_fields_obj[field.field] = field.message        },      )    }
    return data  } catch (error) {    console.error("Error submitting form:", error)    return {      message: "An unexpected error has occurred. Please try again later.",      payload: formData,    }  }}
The form component uses this returned data to set the default values of input fields:
"use client"
import { useActionState } from "react"import { Button } from "./ui/button"import { Input } from "./ui/input"import { Label } from "./ui/label"import { Textarea } from "./ui/textarea"import { sendFormData } from "@/server/actions"
export function ContactForm() {  const [state, action, isPending] = useActionState(sendFormData, {})
  return (    <form      action={action}      className="w-full max-w-3xl rounded-lg bg-white px-4 py-12"    >      <div className="mx-auto max-w-2xl space-y-6">        <h1 className="text-center text-4xl">Contact</h1>        <div className="flex gap-4">          <div className="flex-1 space-y-2">            <Label htmlFor="first-name">First name</Label>            <Input              id="first-name"              name="first-name"              defaultValue={state.payload?.get("first-name") || ""}            />            {state.invalid_fields_obj?.["first-name"] && (              <p className="text-destructive">                {state.invalid_fields_obj["first-name"]}              </p>            )}          </div>          <div className="flex-1 space-y-2">            <Label htmlFor="last-name">Last name</Label>            <Input              id="last-name"              name="last-name"              defaultValue={state.payload?.get("last-name") || ""}            />            {state.invalid_fields_obj?.["last-name"] && (              <p className="text-destructive">                {state.invalid_fields_obj["last-name"]}              </p>            )}          </div>        </div>        <div className="space-y-2">          <Label htmlFor="email">Email</Label>          <Input            id="email"            name="email"            defaultValue={state.payload?.get("email") || ""}          />          {state.invalid_fields_obj?.["email"] && (            <p className="text-destructive">              {state.invalid_fields_obj["email"]}            </p>          )}        </div>        <div className="space-y-2">          <Label htmlFor="message">Message</Label>          <Textarea            id="message"            name="message"            defaultValue={state.payload?.get("message") || ""}          />          {state.invalid_fields_obj?.["message"] && (            <p className="text-destructive">              {state.invalid_fields_obj["message"]}            </p>          )}        </div>        <Button type="submit" disabled={isPending}>          {isPending ? "Sending..." : "Send"}        </Button>        <p className={state.status === "mail_sent" ? "" : "text-destructive"}>          {state.message}        </p>      </div>    </form>  )}
This ensures that users don’t have to re-enter their data when validation errors occur.
Conclusion
This implementation provides a complete solution for integrating Contact Form 7 with Next.js, including:
- Server-side form submission using Next.js Server Actions
- Client-side validation with Contact Form 7 API
- Form state preservation on validation errors
- Error handling and user feedback
- Responsive UI components using shadcn/ui